
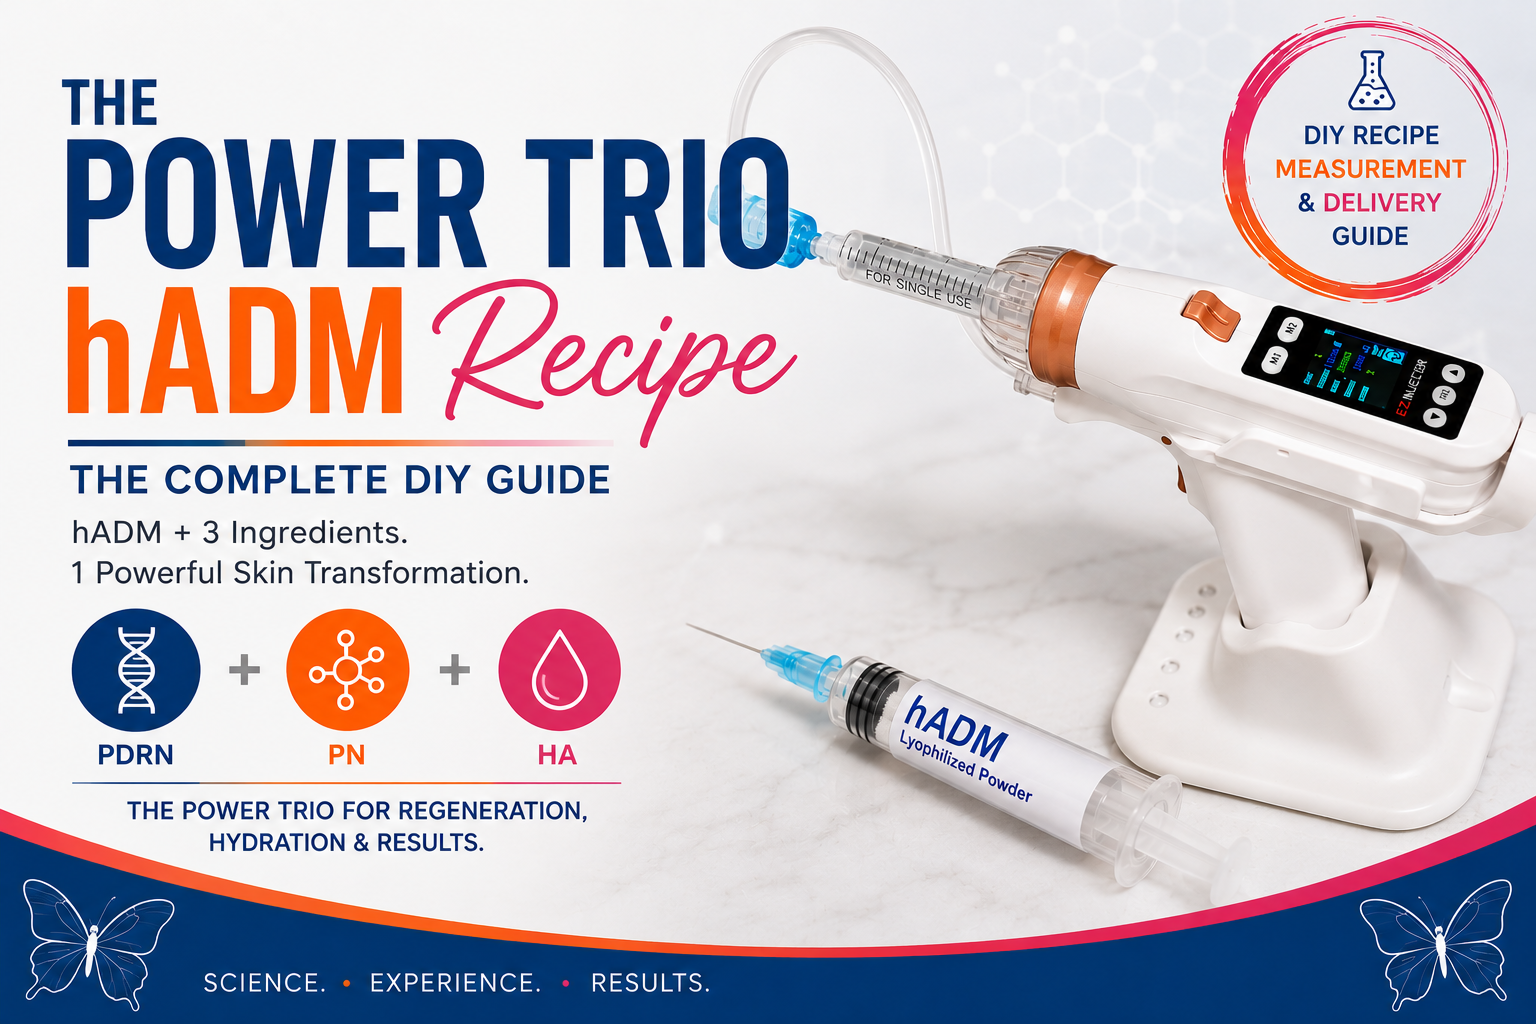
Published hADM protocols commonly start with a very simple reconstitution formula: normal saline, non-crosslinked hyaluronic acid, and sometimes lidocaine for comfort. In the 2026 clinical trial of Elravie Re2O, for example, researchers combined 150 mg of hADM with 2.1 mL normal saline, 1.5 mL non-crosslinked HA skin booster, and 0.4 mL lidocaine before delivering it into the mid-dermis with an automated injector.
That works. But when more than half of the liquid in the syringe is simply saline, I can’t help asking: could that volume be doing more?
My recipe starts with the same basic concept, but replaces much of that inactive saline volume with injectable PDRN and adds high-concentration PN. I still use non-crosslinked HA for fluidity and slip, with a small amount of optional lidocaine for comfort.
The result is my Power Trio: hADM + PDRN + PN, with HA serving as the carrier that helps bring it all together.
Start Here: Understanding hADM
If you haven’t already read Mastering hADM: How to Choose and Use the Hottest Boosters from Korea, start there. That article explains what hADM is, how it differs from traditional biostimulators and skin boosters, and how the growing selection of Korean hADM products compare.
This article starts where that one leaves off: You’ve picked your hADM. Now what are you going to do with it?
Part 1: Build the Recipe
This recipe is specifically designed for lyophilized hADM (Human Acellular Dermal Matrix) powder that must be reconstituted before use.
Recipe Ingredients & Biological Synergy
Rather than simply adding enough saline to make the hADM injectable, I want every ingredient in my recipe to have a reason for being there. At the same time, more isn’t necessarily better. hADM is a long-lasting structural material, so this is not where I want to create a kitchen-sink skin booster cocktail.
Want the science? Expand each ingredient below to learn why I chose it and what it contributes to the recipe.
Role: Primary reconstitution fluid and cellular primer.
Why I Choose It: Instead of reconstituting with plain saline, medical-grade PDRN serves as the first fluid added directly to the hADM powder.
Mechanism: PDRN (Polydeoxyribonucleotide) provides short-chain DNA fragments associated with adenosine A2A receptor signaling, tissue repair, angiogenesis, and modulation of inflammatory responses.
Role: Long-chain structural polymer and fibroblast stimulus.
Why I Choose It: Polynucleotides (PN) consist of longer, higher-molecular-weight DNA polymers with greater viscoelastic and scaffold-like properties. That makes PN especially interesting here as a longer-lasting regenerative component alongside the structural hADM matrix.
Mechanism & Synergy with hADM: PN has been associated with fibroblast activity, tissue repair and extracellular-matrix remodeling. hADM provides the physical collagen-rich scaffold into which host cells can infiltrate during remodeling. There isn’t yet clinical research studying PN and hADM together, so combining them for this purpose is my formulation theory: provide the structural scaffold with hADM while creating a regenerative environment around it with PN.
Role: Rheology modifier, tissue diffusion aid, and temporary hydrator.
Why I Choose It: Hyaron is a simple 10 mg/mL non-crosslinked sodium hyaluronate with relatively high fluidity and good tissue spread.
Mechanism: HA is highly hydrophilic, attracting and binding water within the extracellular space. In this recipe, Hyaron provides temporary hydration while also acting as a fluid carrier that helps the hADM mixture flow through the needle and distribute more easily within the dermis.
Role: Procedural comfort.
Why I Choose It: Completely optional, but particularly useful with multi-pin automated delivery to reduce procedural sting.
My recipe uses 0.25 mL while the clinical trial used 0.4 mL.
Part 2: Choose Your Recipe and Concentration
There are two basic ways I prepare this formula: a Half Recipe using half of each primary ingredient, or a Full Recipe using the entire vial/syringes.
The Basic Recipe
| Half Recipe | Full Recipe | |
|---|---|---|
| PDRN Inj | 1.50 (half vial) | 3.00 (full vial) |
| PN | 1.25 (half syringe) | 2.50 (full syringe) |
| Hyaron | 1.25 (half syringe) | 2.50 (full syringe) |
| Lido Inj | 0.25 | 0.25 |
| Total Volume | 4.25 mL | 8.25 mL |
| General Use | Targeted Areas | Full Face or Neck |
A Half Recipe leaves half of the PDRN, PN, and Hyaron unused, which can be convenient if you want to prepare separate batches or use those products elsewhere in your treatment plan.
The Full Recipe makes full-face or face-and-neck coverage considerably easier.
How Much hADM?
My Half Recipe combines one 150 mg syringe of hADM with 4.25 mL of carrier, for an approximate concentration of 35.3 mg/mL. Interestingly, this is very close to the 37.5 mg/mL concentration used in the Elravie Re2O clinical trial, which reconstituted 150 mg of hADM to a total volume of 4.0 mL.
The Full Recipe uses the same 150 mg of hADM in 8.25 mL of carrier, reducing the concentration to approximately 18.2 mg/mL. That gives you considerably more coverage, but with less hADM delivered per milliliter.
Mixing the Recipe
hADM needs to be thoroughly and evenly reconstituted before treatment. I start with the PDRN because it is the primary reconstitution fluid in my recipe, then add the remaining ingredients once the hADM is fully wetted and beginning to dissolve.
Additional Supplies: Sterile 5 mL mixing syringe, Luer-lock syringe connector, and separate sterile drawing needles for each vial you access. If making a Full Recipe, you’ll also need a sterile 10 mL syringe to accommodate the larger finished volume.
Before You Mix: Only use ingredients you have previously used and tolerated individually. This is not the time to introduce a brand-new injectable into your cocktail. See Part 5 for more on this rule.
- Draw the PDRN. Draw 1.5 mL PDRN for a Half Recipe, or 3.0 mL for a Full Recipe, into your sterile mixing syringe.
- Connect to the hADM. Remove the drawing needle, expel excess air from the syringe, and attach a sterile Luer-lock syringe connector. Connect the PDRN syringe to the hADM syringe.
- Wet the hADM. Slowly push the PDRN into the hADM syringe. Gently roll the syringe to wet the lyophilized powder and allow it to begin dissolving into the fluid.
- Add the lidocaine, if using. Using a fresh sterile drawing needle, draw 0.25 mL of 2% lidocaine. Avoid backwashing any of the mixture into the lidocaine vial. Add the lidocaine to the hADM.
- Begin mixing. Connect the hADM syringe to your mixing syringe and gently pass the mixture back and forth several times. At this stage, the goal is to fully wet and dissolve the hADM before adding the more viscous PN and HA.
- Add the PN. Add 1.25 mL for a Half Recipe or 2.5 mL for a Full Recipe. Gently incorporate it into the hADM mixture.
- Add the Hyaron. Add 1.25 mL for a Half Recipe or 2.5 mL for a Full Recipe.
- Final mix. Remove excess air, reconnect the mixing syringe, and gently pass the mixture back and forth until it appears evenly blended, with no obvious dry material or large clumps remaining.
If you notice the hADM settling or becoming unevenly distributed during treatment, gently remix the syringe before continuing.
Making a Full Recipe? The finished 8.25 mL volume won’t fit in the standard 5 mL hADM syringe. After initially wetting the hADM with PDRN and adding the lidocaine, transfer the mixture to a sterile 10 mL syringe before adding the PN and Hyaron.
Part 3: Choose Your Delivery Plan
This guide provides my alternative recipe for reconstituting hADM; it is not intended to replace the treatment guidance for your specific product. Refer to the manufacturer’s instructions for recommended treatment areas, injection depths or tissue planes, volumes, and delivery techniques.
Where Should You Put It?
Where you place hADM depends on the specific product you’re using, your available volume, and your treatment goals. Refer to your product’s treatment guidance first, then decide where that product can do the most for you .
If you’re working with a Half Recipe, you may not have enough volume to treat everything equally, and that’s okay. Decide which areas matter most to you and concentrate your treatment there rather than spreading the product too thinly across too many areas.
Think about what you’re actually trying to improve. For example, you might prioritize the cheeks for volume loss and skin quality, the lower face for laxity, or the neck if that’s your primary concern. You don’t need to treat every possible area during every session.
Delivery Method
The finished mixture can be delivered using traditional manual mesotherapy, cannula, or a multi-pin auto injector. The formulation stays the same. The treatment logistics do not.
Option 1: Multi-Pin Auto Injector
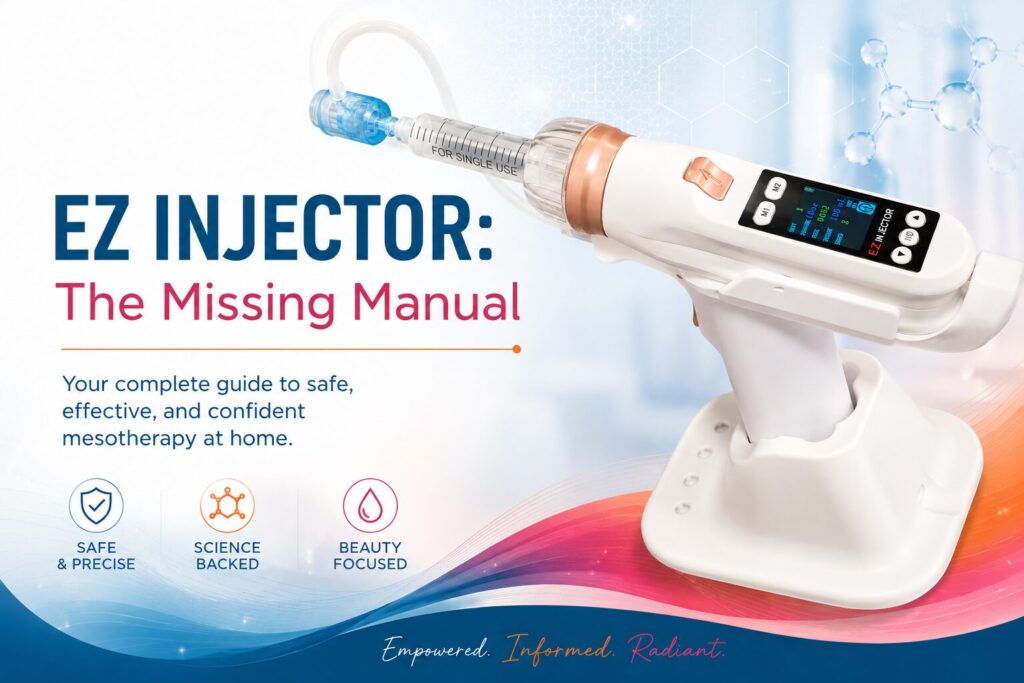
This is how I personally deliver most of my hADM. An auto injector, such as EZ Injector or Haifeel, makes it much easier to distribute several milliliters across the face or neck in small, consistent doses.
An auto injector is an injection device, not a microneedling pen. It uses hollow multi-pin needle cartridges to inject measured doses of product directly into the tissue rather than creating channels in the skin like a microneedling pen. hADM is not a product suitable for microneedling.
The information in Part 4 is specifically about adapting this hADM recipe to an auto injector.
Option 2: Manual Mesotherapy or Cannula
Manual mesotherapy gives you maximum control over exactly where the hADM is placed and how much product is delivered at each point.
Cannula is also a common treatment method in professional hADM protocols, particularly when distributing product across a larger treatment area with fewer entry points.
If you’re using manual mesotherapy or cannula, the recipe itself doesn’t change. Skip ahead to Part 5.
Part 4: Auto Injector Treatment Guide
Most auto injectors used by the DIY community have similar settings and use the same universal consumables such as multi-pin needle cartridges, plungerless syringes, and vacuum tubing. I own an EZ Injector, so I’m writing from that perspective, but the basic operation and treatment strategy are similar across the commonly used auto injectors.
A Note About Dose Settings: Throughout this guide, I list auto-injector doses in microliters (µL) because that is how they are displayed on the EZ Injector. Haifeel devices typically display the same dose in milliliters (mL). The math is the same:
100 µL = .100
150 µL = .150
So if I recommend a dose of 150 µL per trigger and your Haifeel displays .150, those are the same amount.
Basic Setup
Auto injectors use special plungerless syringes that fit inside the device, so the finished hADM mixture needs to be transferred from your mixing syringe before treatment.
| Setting | My Starting Point |
|---|---|
| Cartridge | 9-pin 32G |
| Treatment Depth | 2.0–2.5 mm for appropriate facial areas |
| Typical Dose | 100–150 µL per trigger |
| Delivery Pattern | Even treatment grid |
The exact settings depend on the treatment area and how much coverage I need from the available volume.
For hADM, I set my EZ Injector speed to 2. I prefer the slower injection speed with this thicker particulate mixture, especially when using a 9-pin cartridge.
Recipe Yield & Coverage
Not everything loaded into the injector reaches your skin. Some mixture remains in the syringe, cartridge, needle hub, and injector system.
For planning purposes, I allow approximately 0.25–0.30 mL for system waste. With an expensive hADM mixture, that matters when calculating how many stamps you can expect from a batch.
| Half Recipe | Full Recipe | |
|---|---|---|
| Gross Volume | 4.25 mL | 8.25 mL |
| Manual Forehead Reserve | — | 0.50 mL |
| Approx. Injector-Usable Volume* | ~3.95 mL | ~7.45 mL |
| Stamps @ 150 µL | ~26 | ~49–50 |
| Stamps @ 100 µL | ~39 | ~74–75 |
For a Full Recipe, you could pull approximately 0.50 mL before loading the injector and reserve it for the forehead. That leaves enough injector volume for approximately:
- 49–50 stamps at 150 µL, which works well for a dense mid- and lower-face grid. Or:
- 74–75 stamps at 100 µL, which substantially increases coverage and makes extending treatment onto the neck much more practical.
The Forehead Is Different
The forehead requires special handling because the tissue is thinner and sits directly over the frontal bone.
There are several ways to approach it.
Option 1: Stay With the 9-Pin Cartridge
Reduce needle depth to approximately 1.5 mm. Don’t overthink the exact number. Many generic multi-pin cartridges don’t have calibrated depth settings. Adjust the exposed needle length to approximately 1.5 mm; close is good enough.
I gently pinch or elevate the tissue with my free hand while seating the cartridge and triggering the injection. This gives me more tissue depth to work with while helping maintain the vacuum seal.
Option 2: Manual Mesotherapy
Transfer approximately 0.50 mL into a separate 1 mL syringe.
One possible treatment pattern is 20 superficial aliquots of approximately 0.025 mL each, spaced roughly 1 cm apart.
Option 3: Auto Injector With a Single Needle
The auto injector can also be used with a single mesotherapy needle instead of the multi-pin cartridge. Turn off the vacuum and attach an appropriate needle to the Luer connection.
This gives you manual control over placement while the injector controls the dose. At 25 µL per trigger, a 0.50 mL reserve gives you 20 aliquots.
Part 5: Safety: Know Every Ingredient
Never introduce a first-time ingredient as part of an hADM cocktail.
You should already know how your skin responds to every component you intend to combine with hADM. That means having prior experience with the specific PDRN, PN, Hyaron, lidocaine, or alternative booster you plan to use.
Why? Because if you experience unusual erythema, hives, swelling, or another reaction after injecting a brand-new multi-ingredient cocktail, you have no practical way of knowing which active ingredient, preservative, excipient, or buffer caused it.
My rule is simple: Test your tolerance to the carrier ingredients individually first. Only combine ingredients with hADM after you already know you tolerate them.
Part 6: A Few Final Tips
How Often?
For an initial series, I space hADM treatments approximately every 4-6 weeks for three treatments. After that, treatment frequency can be adjusted based on the hADM product, your goals, and how your skin responds.
Don’t Waste Leftover Ingredients
The Half Recipe uses only half of the PDRN, PN, and Hyaron, but that doesn’t mean the rest needs to go to waste.
If appropriate for the products you’re using, you can use the remaining ingredients separately during the same treatment session. For example:
- PDRN can be injected subcutaneously for systemic health
- PN can be used for targeted mesotherapy such as the eye area
- Hyaron can be used separately on the face, neck, or hands
Can You Substitute an All-in-One Skin Booster?
Yes. There are alternative reconstitution recipes using multi-ingredient skin boosters such as Caratfill Aurora or GTM Goldcell NMN 8% in place of some of the separate PDRN and PN in my recipe.
I prefer the separate ingredients because they give me better control over PN quality, concentration, viscosity, and exactly what is going into the cocktail. I am uncomfortable with so many ingredients injected at mid-dermis depth. If you use an all-in-one booster with an auto-injector, pay particular attention to viscosity and flow through the multi-pin cartridge. You may still need some Hyaron.
What About Exosomes?
I love pairing hADM with human exosomes as part of a larger regenerative plan, but I don’t put exosomes directly into my hADM cocktail.
For me, it’s high risk and low reward. hADM is a structural material intended to remain in the tissue while it integrates. I don’t see a compelling reason to introduce another complex biologic into that same mixture when I can use exosomes separately.
Stack them. Don’t mix them.